Update: 2014-11-11
Baby Steps.
I just made a short video of ROFI taking some of his first steps (and falls). I used the static walking script as provided by the projectbiped.com site and I did not enter any of my own calibration values so it wasn't much of a surprise that it has problems. Also he really needs some cable management.
Update: 2014-10-25
SMOKE TEST!

I tried really hard to get ROFI walking before my montly robotics meetup at Nova Labs but at 3am I had to give up. Soldering the big 4m battery extension wires took a lot longer than I thought they would so I just brought him as a lifeless example of a 3D printed robot along with InMoov and Minion.
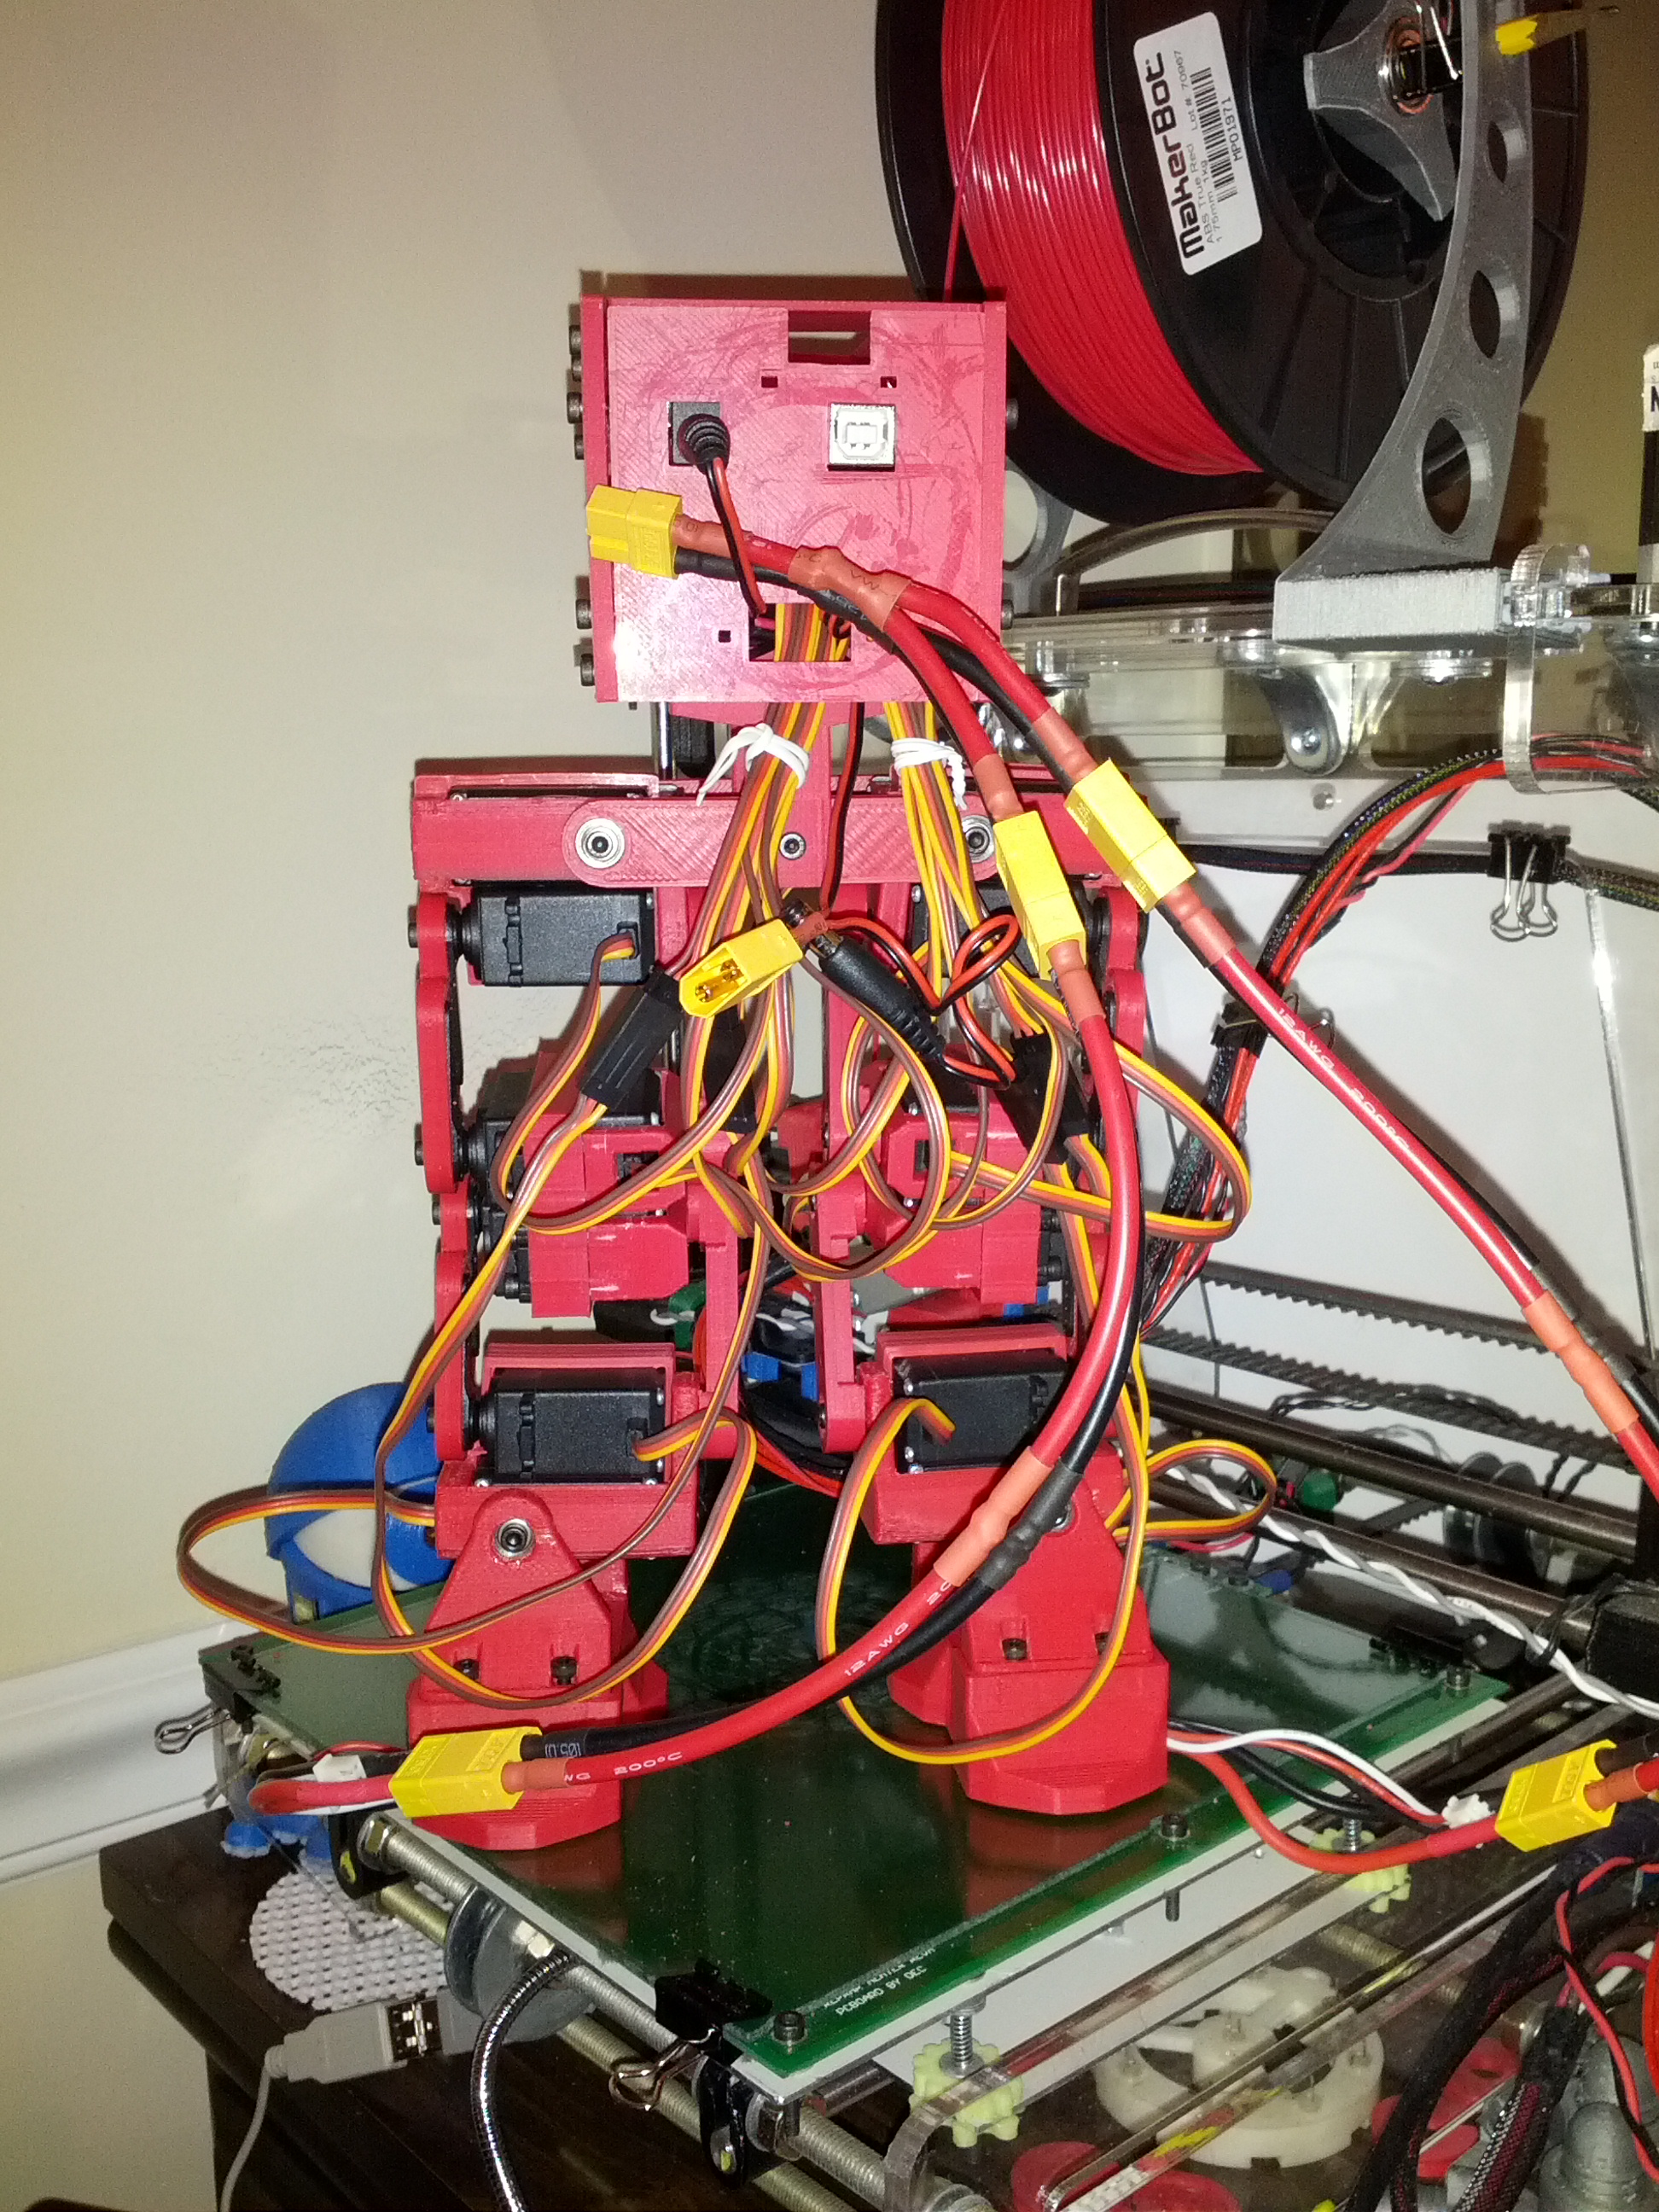
This afternoon I dug back into the tedious task of wiring which usually causes me to stop a project because of all the decisions on wire lengths, wire routing, and connector selection. I've powered through and made some changes to the original design besides component selection. I powered it up and not pops, sparks, or magic smoke escaping. I didn't leave it on more than a few seconds.
You can see the big yellow XT60 connector at the top of the parallel Y cable at the back of his head. Below that in front of the left bundle of servo cables is the XT60 to Barrel jack adaptor that it would connect to. Right now he's powered down "belt and suspenders" style. The switch is off and the batteries unpluged. The XT60 to barrel jack adaptor has two barrel jacks coming out of it so I cut one off and put female crimp pins on the XT60 side and male crimp pins on the barrel jack side. then I made a couple red wires with female blade terminal connectors to attach to the switch and then put crimp pins on the other, one with male and the other female so that I can splice the switch inline with the positive supply from the batteries. The switched barrel jack is plugged into the Mega on the back of the head. The other barrel jack hasn't been monkeyed with and is just tucked in the middle of that wiring mess.
I now have to calibrate the servos and get a feel for how many more servos might need extension cables. So far I have only added them to the two lowest servos on each leg (angle and lower leg). After I make sure I have enough slack, I can work on the cable management. I think I have a few of those coiled things that are recommended in a box full of old audio stuff.
--------------------------------------------------------------------------------
Update: 2014-10-22
I've been working on an MRL python script to calibrate my ROFI once I have him all wired up (which shoudl happen tomorrow night now that all my parts have come in). I'm trying to replicate the Project Biped calibration process using the Robot Poser C# application that he's published. Below I've published a screen recording of using the script. Follow the cursor since there's no narration or subtitles. When I circle appears around the mouse pointer, that means I clicked/held the mouse button.
Update: 2014-10-15
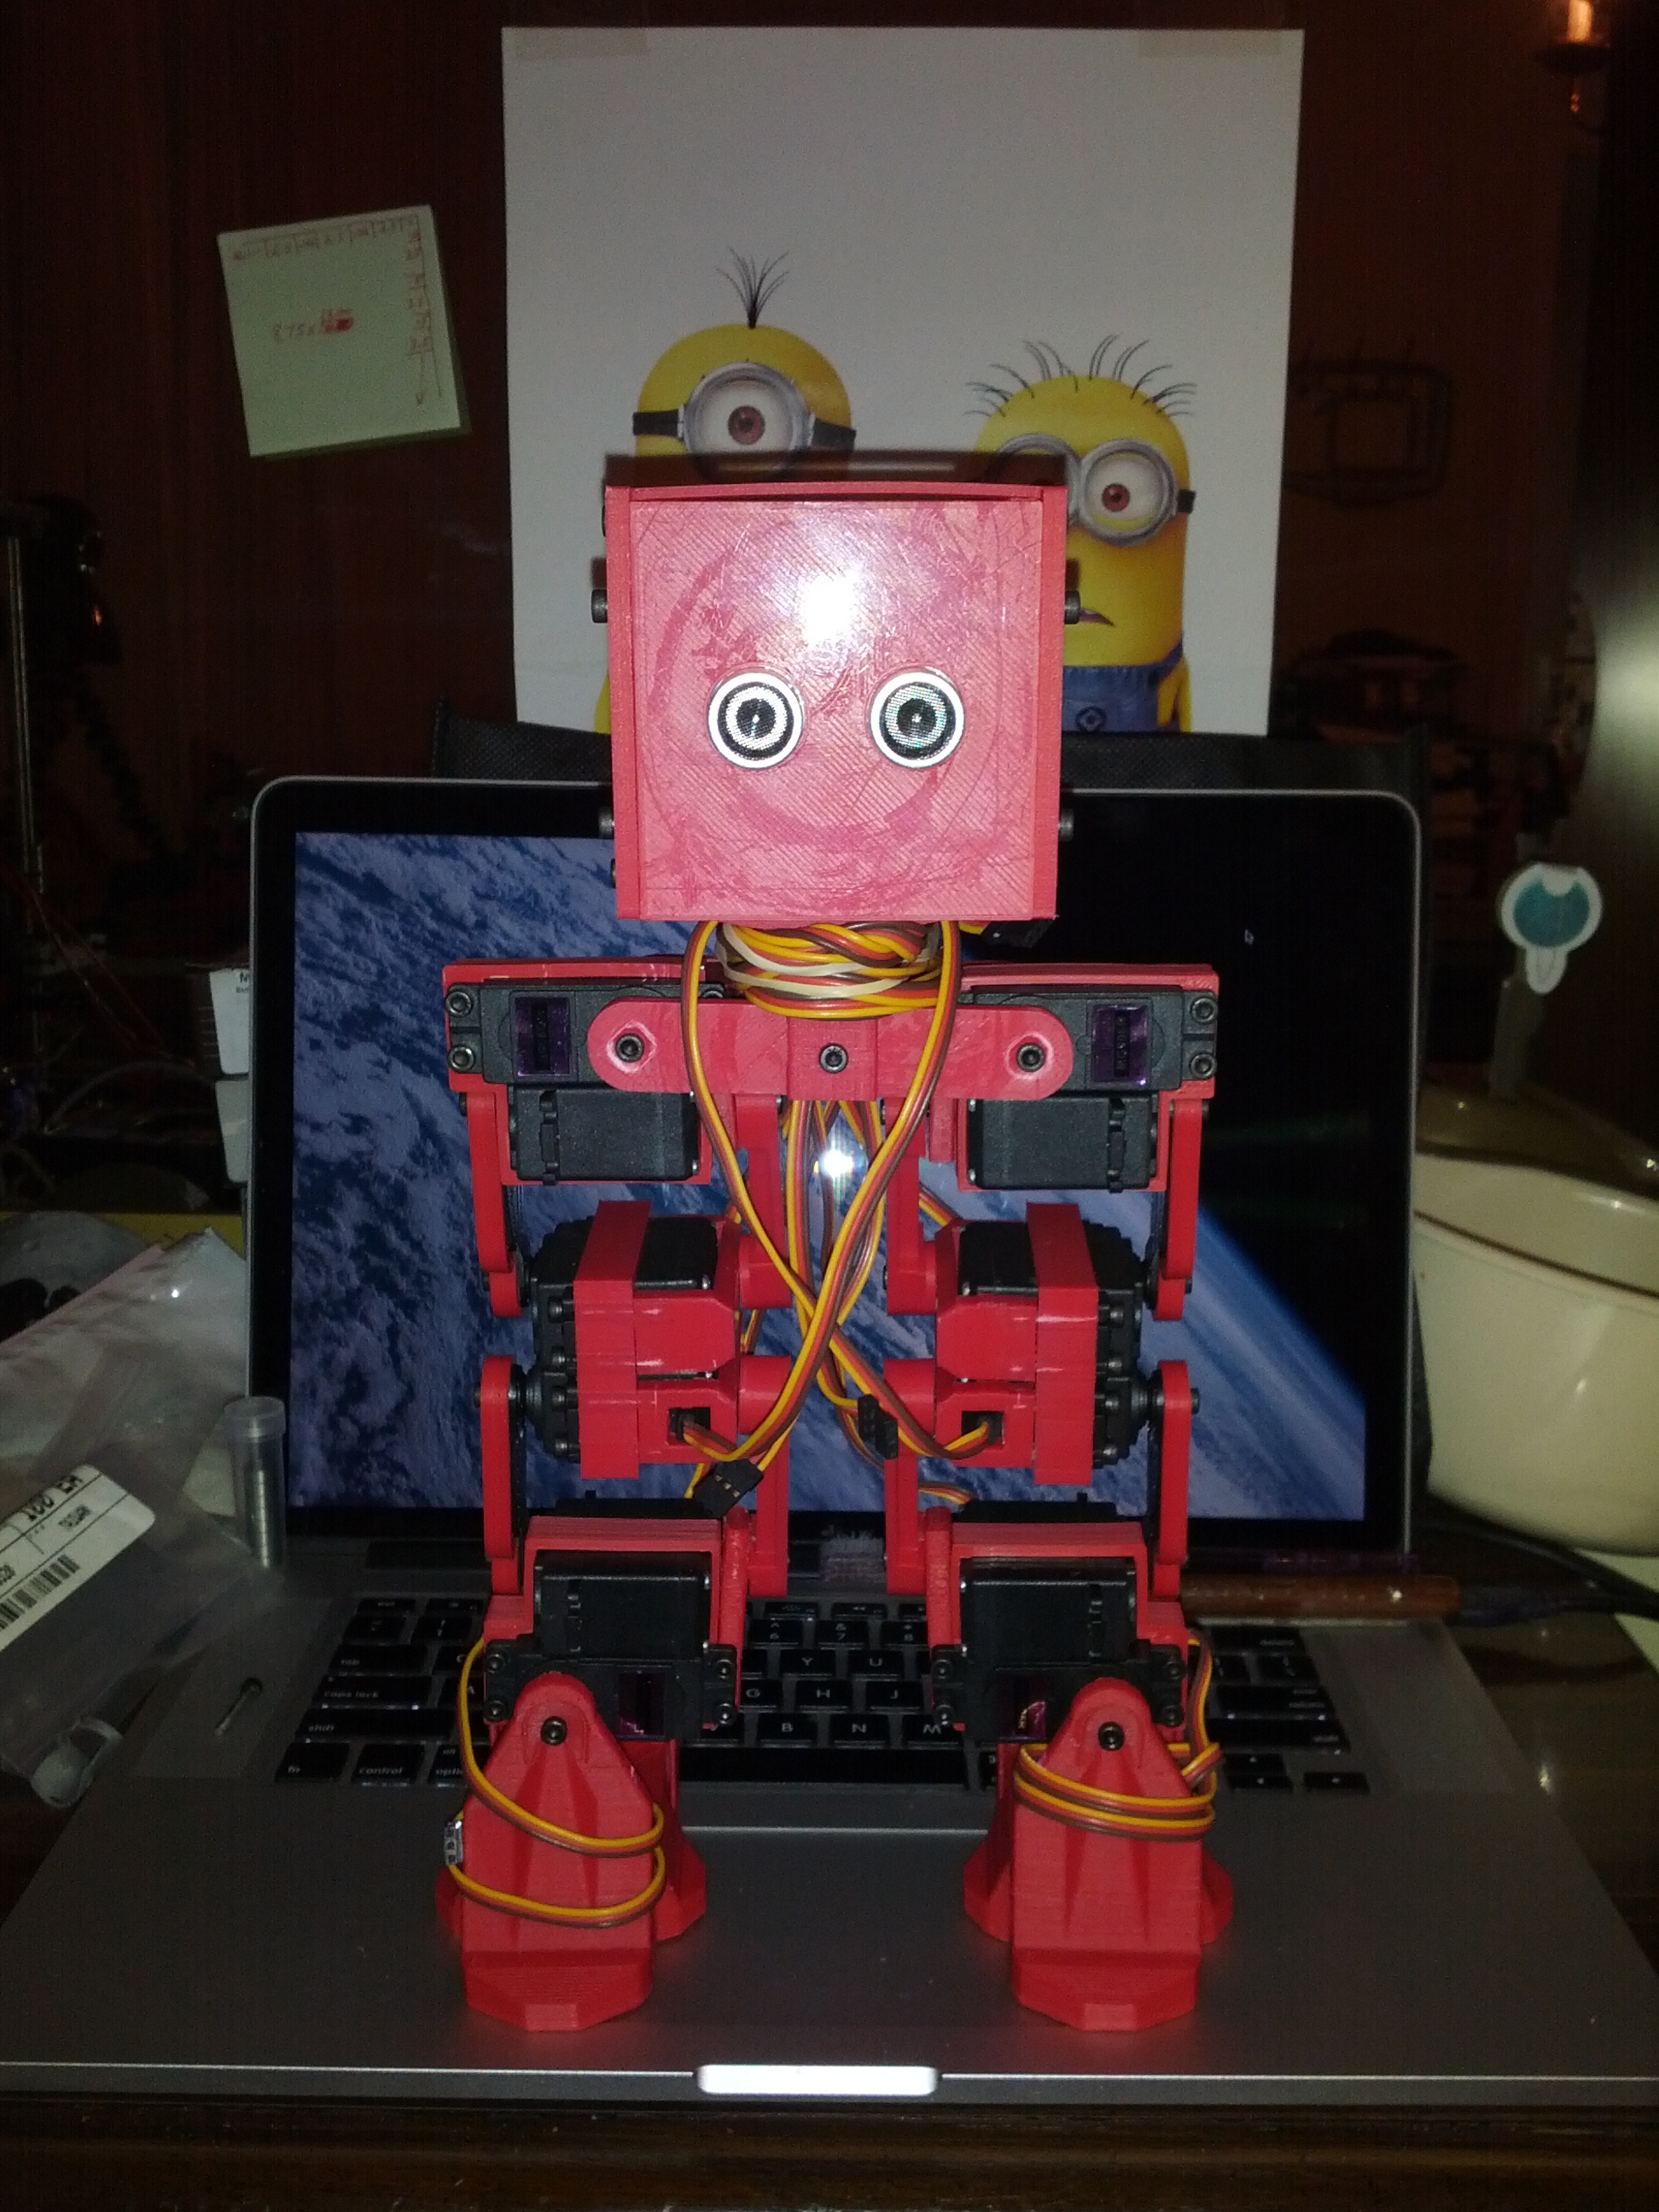
Head attached with Arduino Mega and HC-SR04 sensor installed. I need some other parts so I can start calibrating his servos and start him walking. Coincidentally he already has MRLComm.ino installed since I pulled the Mega from InMoov. The Mega has a burned pin (D14 I think) from when I shorted 12V to the bed thermistor on my printer. The printer got a new Mega and InMoov got the old one. Well InMoov needs a lot more pins than ROFI probably ever will so InMoov got a new Mega clone ($20 Inland branded from Microcenter) and ROFI gets the "hand me down" board.
DJ was right about making sure you print bed is SPOTLESS before printing the head/body panels because the outside surface is the first layer printed. The faint happy face on the front panel is from the unevenness of the hairspray on my glass after having printed several things since the last coat was applied. It's certainly better than Kapton seams, bubbles, and gouges. I even tried cleaning the faceplate with alcohol thinking it might be hairspray residue on the ABS that I could clean off.
My next robotics meeting is on 10/25 so I think I want to get ROFI at least doing a static walk by then. All I should have to do is calibrate the servos according to the guide and put the calibration output into the static walk sketch from the Project Biped site. Integrating the SR04 to do obstacle avoidance would be a bonus. Having it controlled by MRL would be the best. I have a bit of engineering to do if I want that to happen since I'm going out into uncharted water. I need to pack a bigger, MRL capable brain in there like a RasPi B+ and something to power it.
Update: 2014-10-14
I've been watching the recommended parts list on Hobby Partz and they've been mostly out of stock for months so I decided to roll my own equivalent parts list from Hobby King. It's been a headache since the batteries have a different connector so I need to find parts with that connector and a converter to be able to recharge the batteries with my charger. Add on top of that the annoyance that Hobby King won't let you add parts from two different warehouses to one cart. So I had to make one order with parts from the US East warehouse and a second with some stuff from the International (Hong Kong) warehouse.
Here's what I got..
Batteries Turnigy 1300mAh 2S 20C Lipo Pack (AR Warehouse) x2
Voltage Regulator TURNIGY 3A UBEC w/ Noise Reduction (AR Warehouse)
Battery Connector wires XT60 Male w/ 12AWG Silicon Wire 10cm (5pcs/bag) (AR Warehouse)
Servo Extension Wires 15CM Servo Lead Extention (JR) 26AWG (10pcs/bag) (AR Warehouse) x2 packs
Battery Connector wires XT60 Female w/ 12AWG Silicon Wire 10cm (5pcs/bag)
Battery to charger adaptor Male XT60 <-> Female T-Connector (1pc/bag)
Battery to barrel jack for Mega XT60 to 2 x DC Jack Converter (1pc)
Battery parallel Y cable XT60 Harness for 2 Packs in Parallel 12AWG Wire (1pc)
So hopefully that's all I need. With my luck all the stuff from the US warehouse will show up quick and the stupid little cables to hook it all up from the HK warehouse will take weeks on the slow boat.
I will use the M/F battery connectors to make extension wires if needed to go from the two batteries to the Y cable and from there to the 2.1mm barrel jack into the Mega. It looks like the Mega supplies the power to the Voltage Regulator which then supplies the servos. The only other thing I need to power will be the RasPi or whatever onboard "brain" I choose. It is tempting to run the brain off it's own power supply so the body can go dead while the brain stays alive. I would also love to have a charging dock that he could walk into to charge his lipo batteries but having to do the balance connector is kind of a pain in the ass.
---------------------------------------------------------------------------------------------
Updated: 2014-10-13
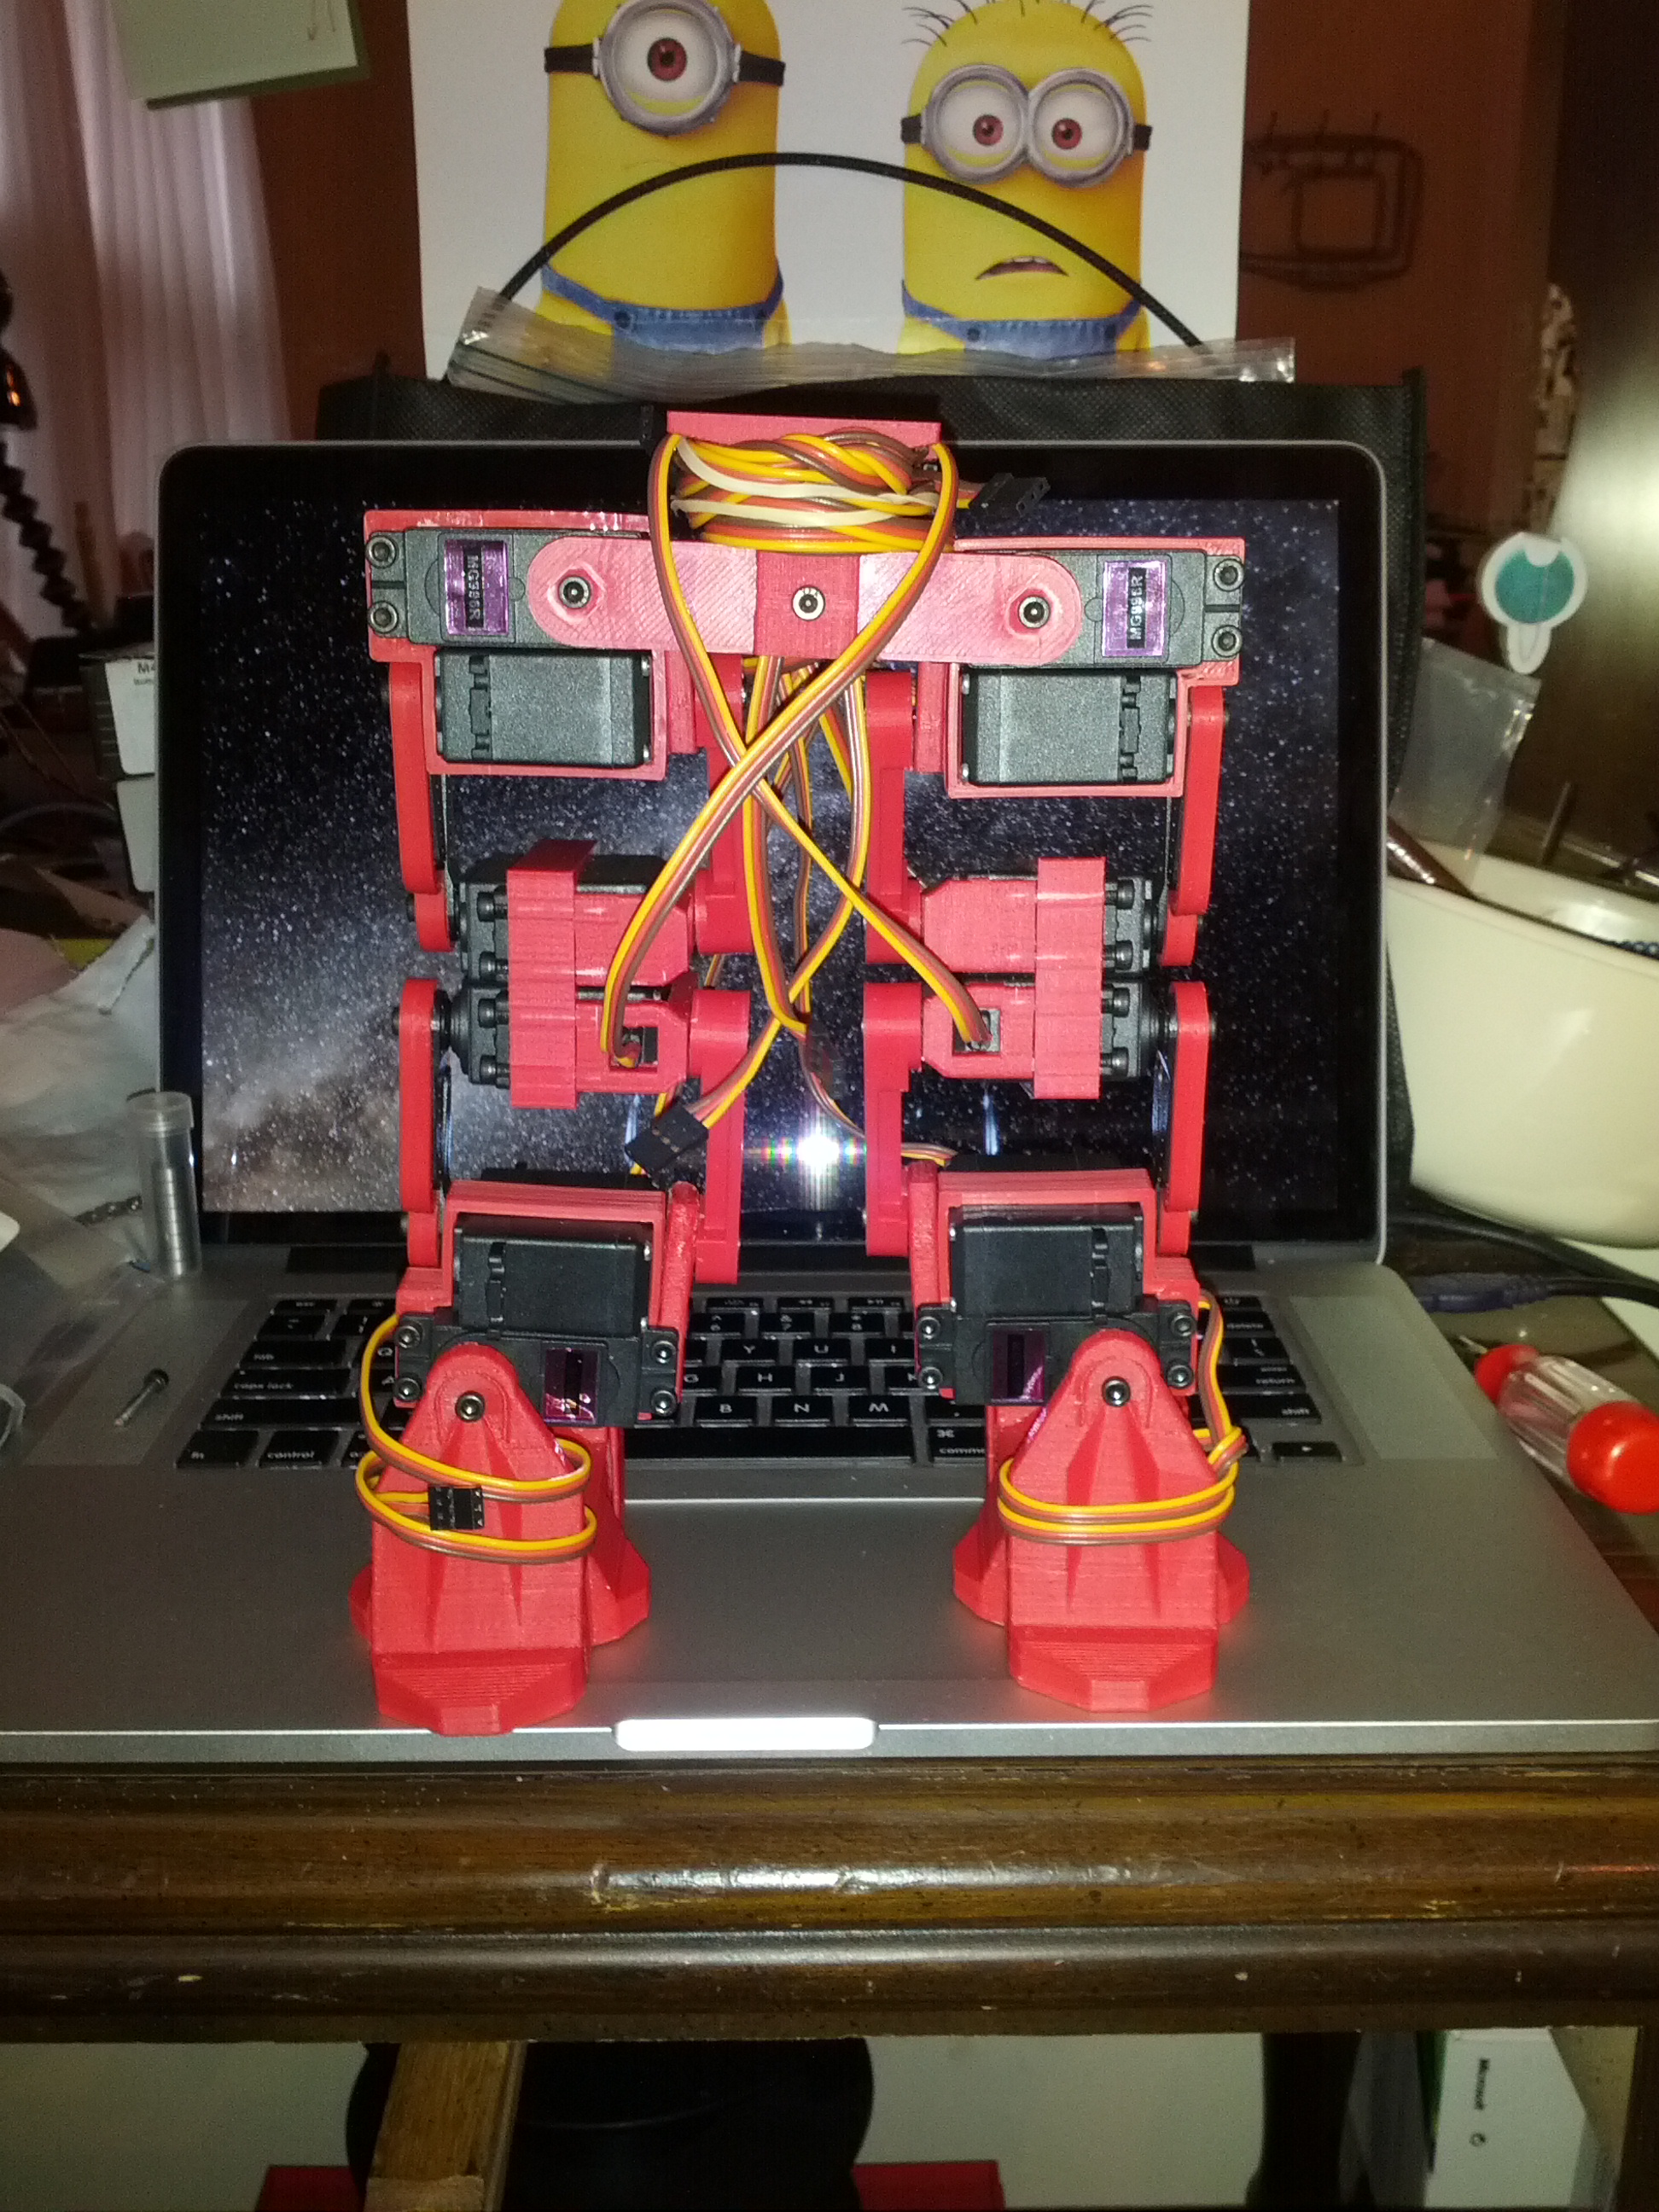
It's really coming together. I got all the servos centered using MRL and then ran through the assembly slides. I built both the left and right legs at the same time rather than doing the right and going back to do the left. In a few places I had to use different hardware than he suggested. Usually it was because the screw length he suggested wasn't long enough. Not sure if that was because of my prints or because his instructions were for different versions of his parts. Either way it wasn't off by much. Sometimes I simply used 20mm rather than 16mm or 12 rather than 8mm. In one place I needed 10mm rather than 8 but I only had 12mm so I threw a couple washers to take up the slack at the screw head end. The other thing I noticed was that the little M3 washers he suggested for the bearings were the right size to only press against the bearing hubs and not the outside but they were so small they fell through the holes in the parts. I'm not sure if that was how it was supposed to work but I had some M3 fender washers left over from my printer build so I put one of them in first to keep everything in then a smaller M3 washer followed by the bearing and so on as he suggested. Maybe the washer was supposed to be able to fall through and was meant to be a buffer to keep the two plastic parts from rubbing together. I might take one apart to test that idea but I've pressed in and removed the bearings from the parts more times than I can count at this point. Helpful tip ... you can use an M8 bolt and a plumbers channel wrench to press the bearings in and out of your parts provide a snug fit. I had to actually drill my parts with a 10mm drill bit (without destroying the flange) to get the bearings in without too much force.
ToDo: I still need to source a bunch of the electronic bits like the funky 3x40 right angle header pins and batteries which are out of stock from Hobby Partz. The suggested alternative LiPo is in stock at Hobby King but that requires finding the corresponding connectors and such. I also need the 5A UBEC which is also out of stock at Hobby Partz so I need to find an alternative. I'm not going to use the Archos tablet thing so I'm going to built out everything to the arduino Mega and then I'll probably throw a RasPi in it with MRL. I was going to try to go stock at first but I dont' want to buy some obsolete tablet thing just for this project. I'll probably have to redesign the top body panel to fit the raspi and some sort of screen or maybe I'll just work remotely via WiFi/Bluetooth. Lots of choices. Unfortunately the wiring, electronics, and choices is where my projects tend to bog down. Hence the state of my InMoov.
------------------------------------------------------------------------------------------------
2014-07-11
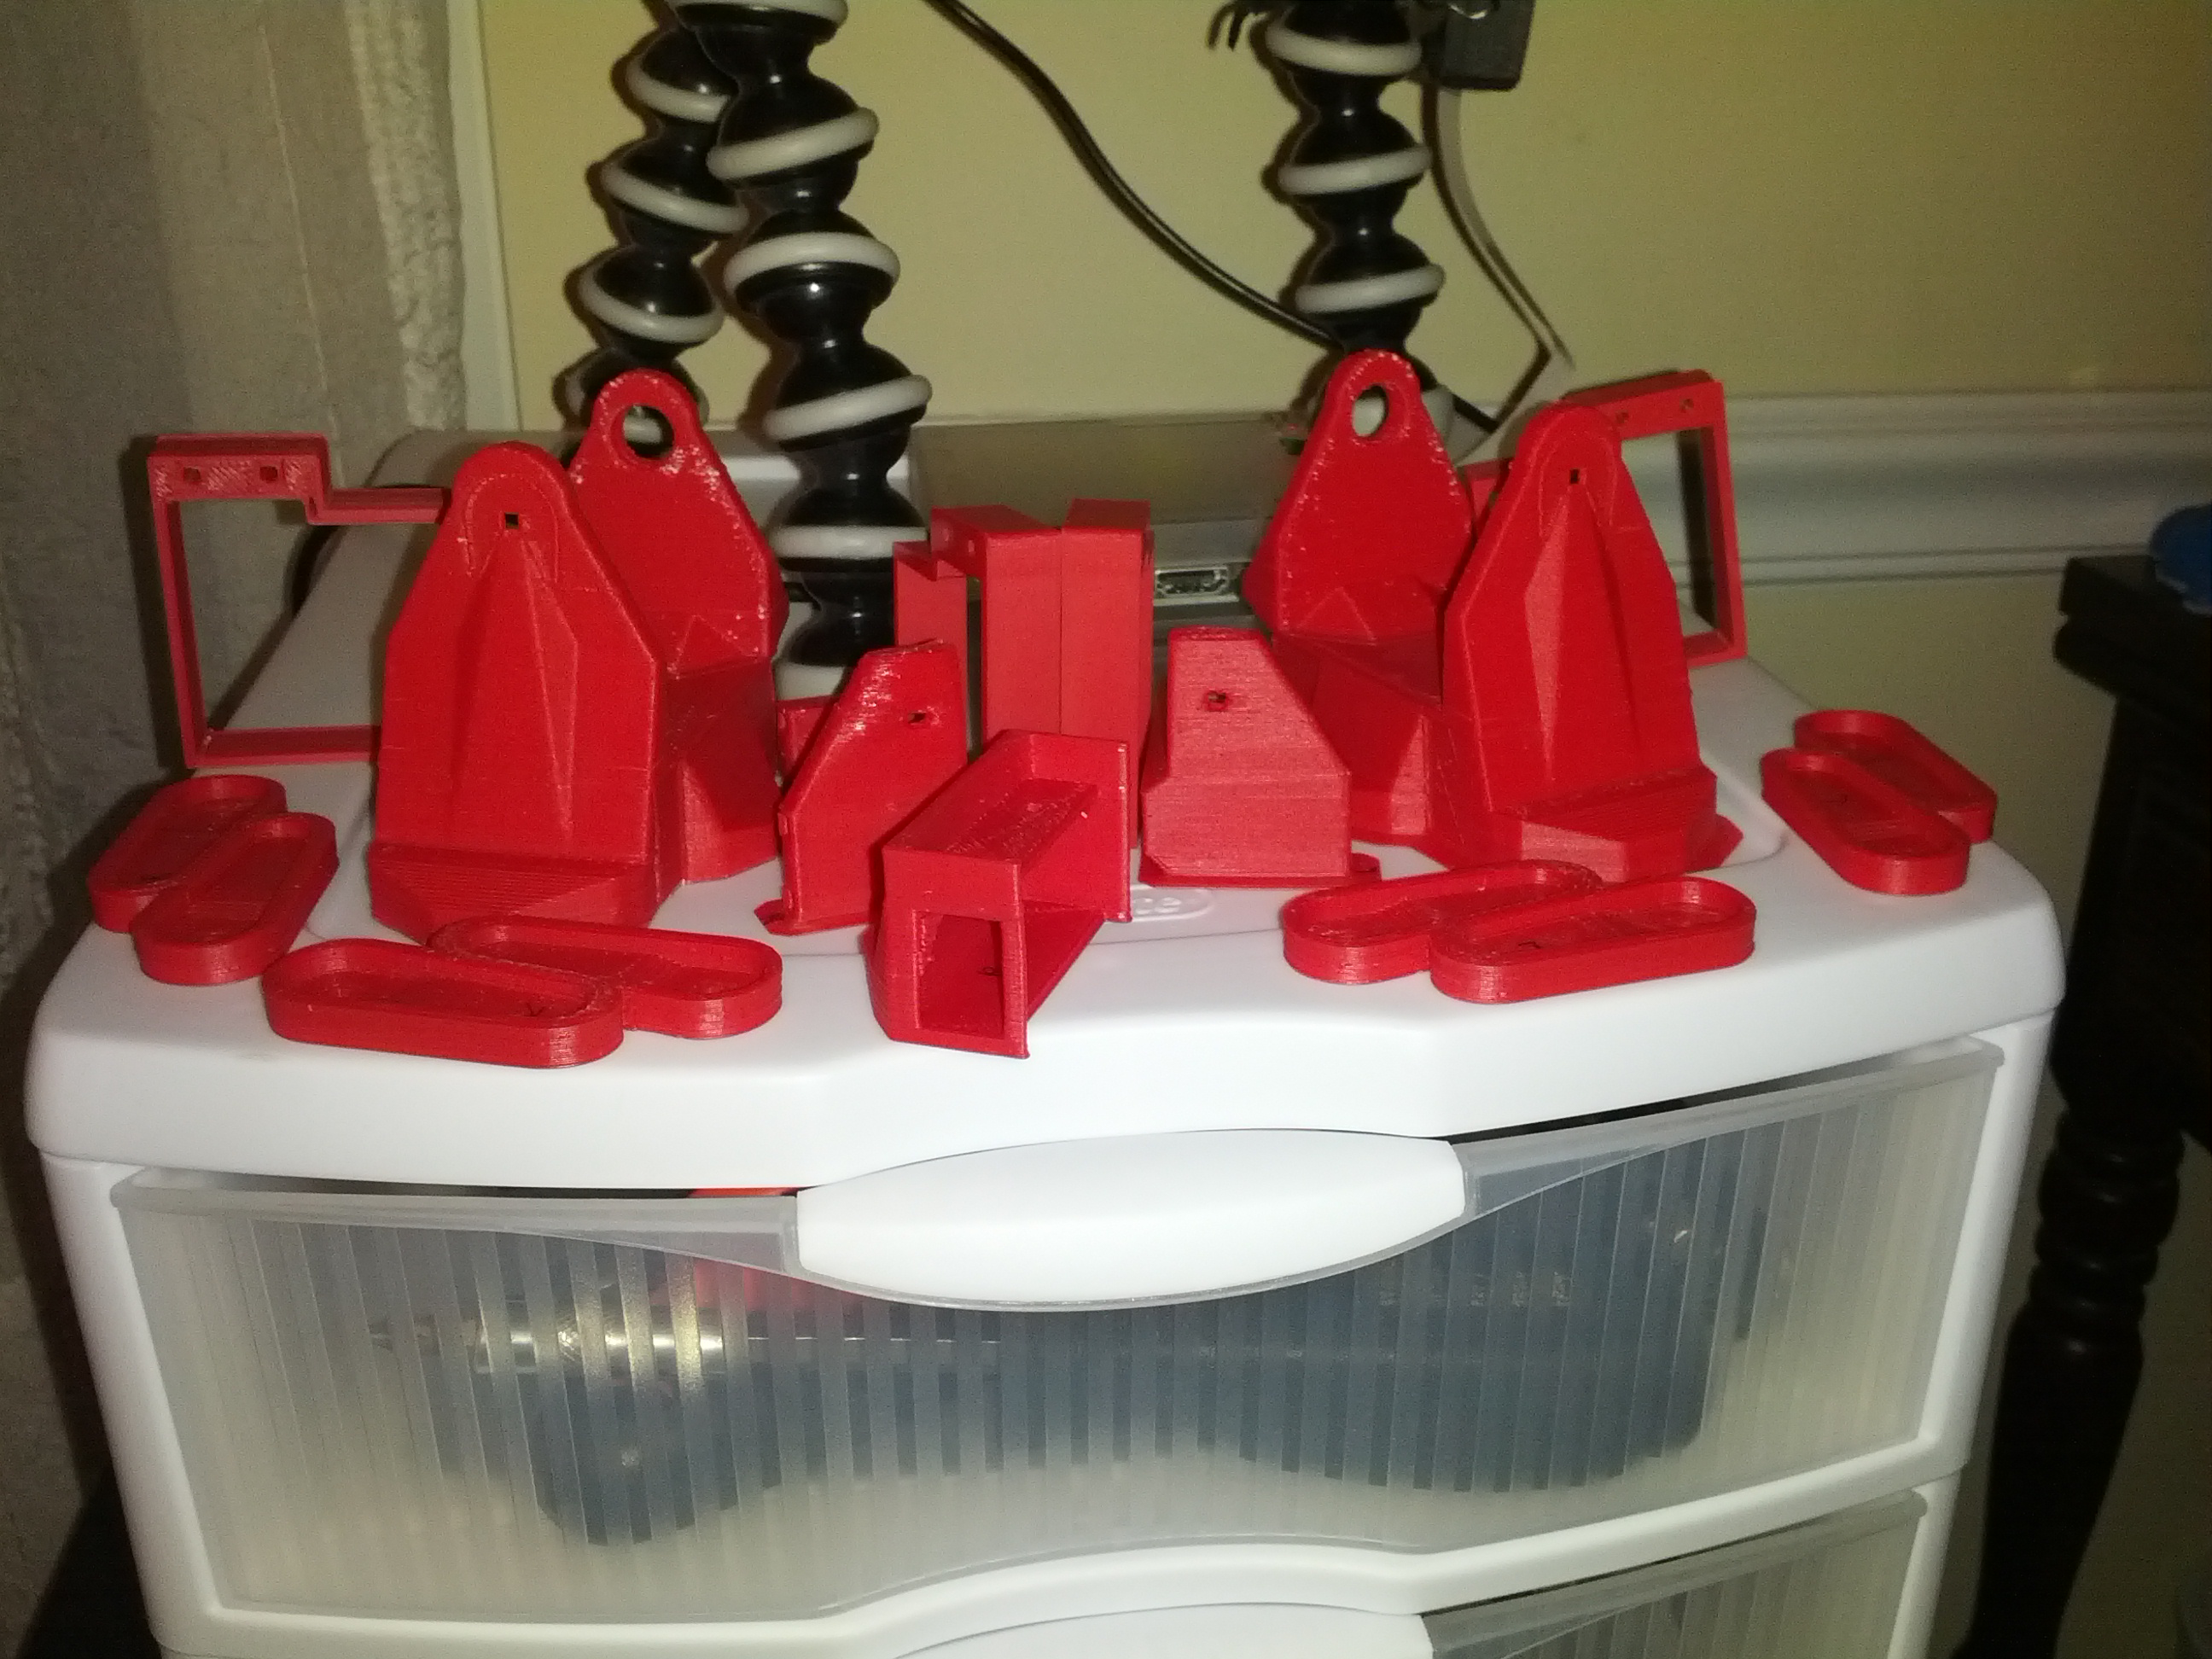
As if I don't already have too many robot projects that are incomplete, I've started (7/2014) printing the parts for a ROFI from Project Biped. I bought the MG996R servos a while ago when ordering some for InMoov. So far I've printed both feet, the right heel, and a bunch of servo brackets for the lower parts of the legs. I have a few more leg parts left. If I order some screws and bearings I can actually start assembly soon.
For brains I'm thinking of using the arduino mega like suggested on the site but I think I'll skip the Arcos android tablet in favor of a RasPi. I'm not sure if I'll do a touch screen or not. I'll probably thrown an IMU in there too. If I'm using a Pi I might as well pop in a Picam. Oh and of course it will be controlled by MRL. :)
Hi, Good work It seem to
Hi,
Good work
It seem to slide , perhaps it could be a good thing to give it two "anti-slide pad", no?
EDIT : the correct english word seem to be " anti-slip "
He lives!
Its so cute to see him writhing happily on the ground after a fall. I need to get up to speed!